Freelander Rear Door Handle Replacement

We’ve been meaning to blog this for ages but with all that’s going on at GLR Towers, we just haven’t had the time. Anyhow enough with the excuses, here’s the story…

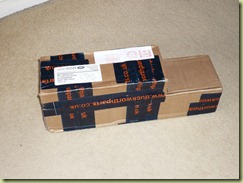
I originally detailed all the parts required in this post so I won’t repeat that info here. The parts arrived from Duckworths well packaged: –

P1060002
P1060003 P1060011


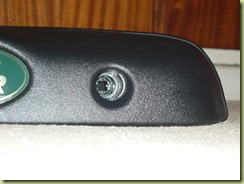
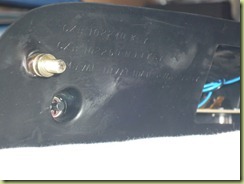
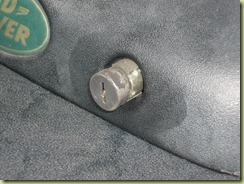
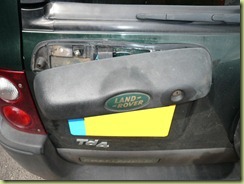
I immediately noticed that the key barrel wasn’t included in the new part and also taking off the rubber cover from the rear of the handle invalidated the warranty!

P1060009 P1060007
Fortunately the old key barrel just unclips from the handle by depressing the two lugs which retain it (Note WD40 staining!) P1060034
P1060018
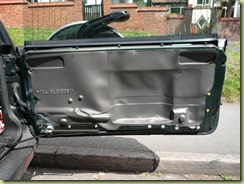
After removing the door card, you are greeted with the water shedder. RAVE recommends replacing this but it’s very expensive. If removed with care it can be re-used. Be aware of the black gloopy stuff used to stick the item to the door.
P1060016
The door handle had already come away so little work was required to remove it other than undo the rusted up fixings.
P1060027
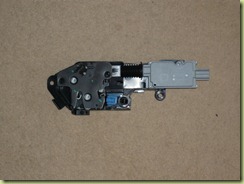
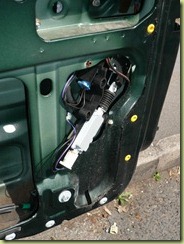
Removing the solenoid is a bit fiddly but with a bit of judicious wiggling it eventually comes out.
P1060029
Fitting the new solenoid is basically the reverse of taking the old one out. Much fiddling and swearing took place!
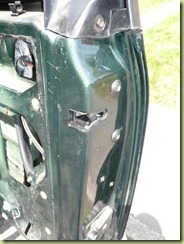
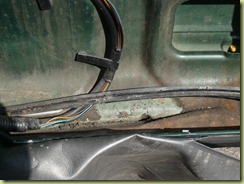
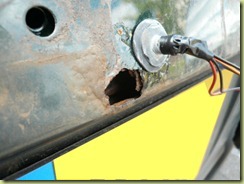
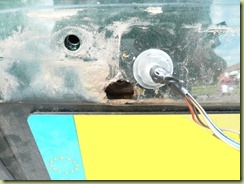
P1060020 After fitting the new solenoid, attention was turned to the door handle. After removing the old handle it was apparent that the panel was in a bad state of decay. The interior of the door pictured left is also showing signs of oxidisation. A future job is to remove the door handle again and make good the rot. Also intend to spray the interior of the panel with Dinitrol or Waxoyl.
P1060037 P1060036
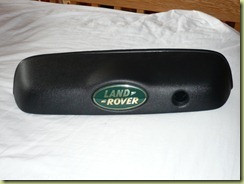
The new handle went on quite easily. I had to use some washers to give the handle to pull against.This will need to be revisted and beefed up before the panel rots further.

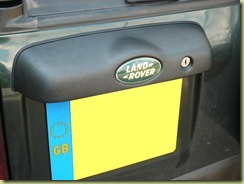
New handle looks nice and shiny though!

P1060042

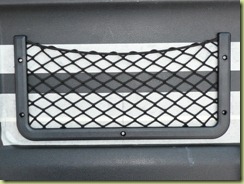
As stated in the original article while the door card was off I decided to fit the Mud Stuff Door Net.
P1060056Firstly the position was marked out using masking tape and the the holes drilled. P1060060The net was fixed to the door using stainless self tappers.
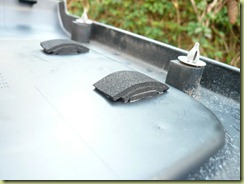
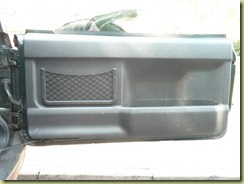
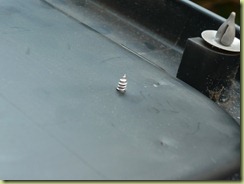
P1060061To stop the screws penetrating the water shedder, some self adhesive neoprene foam was stuck to the screws. P1060063The finished item in place. Looks almost OEM!

Jason

GLR Webmaster & Contributor. In real life I'm a Software Engineer developing embedded software mainly in the automotive industry. Freelander 2 SE TD4 in Tonga Green Discovery 4 SDV6 HSE in Aintree Green Defender XS also in Tonga Green - Gone Freelander Td4 ES TD4 in Epsom Green - Gone Freelander Td4 Kalahari TD4 in Epsom Green - Gone Freelander XEi in Epsom Green - Gone

Leave a Reply

This site uses Akismet to reduce spam. Learn how your comment data is processed.