As I intend to install the Alpine NVE-N999P I needed a GPS antenna. The NVE-N999P comes with a puck antenna that you are supposed to locate on the dash somewhere. I didn’t really like this idea as it looks a bit naff . Therefore thought it would be good to utilise the proper Land Rover GPS antenna.
Nick had used this quite successfully on his Disco 2 as can be seen on his site. I contacted Nick and he was very helpful. He gave me a lot of info which allowed me to obtain the various parts to the GPS antenna. A lot of the information here is courtesy of him.
Parts
The difference between the Alpine and Land Rover can be seen below: –
|
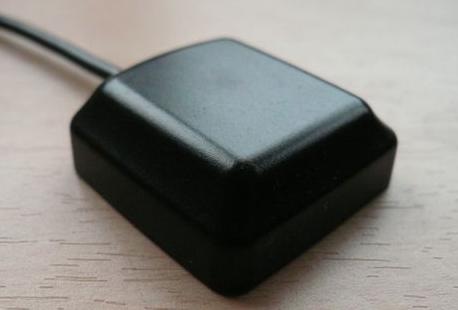
This is the ‘puck’ antenna supplied by Alpine. It is supposed to mount on the dash. |
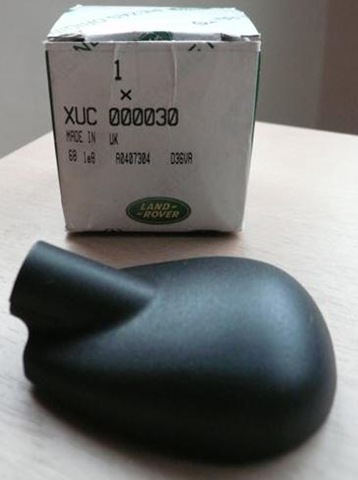 |
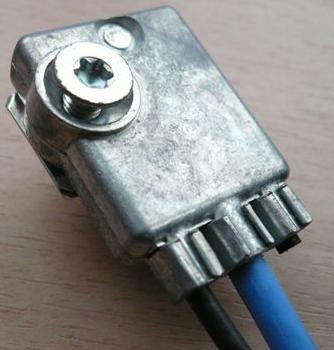
This is the Land Rover part. It mounts on the roof and hence has a clearer view of satellites. The FM radio antenna screws into the boss on the left.Also required was the whip antenna (XUJ000020) |
The two antennas have different connectors: –
|
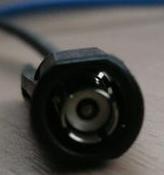 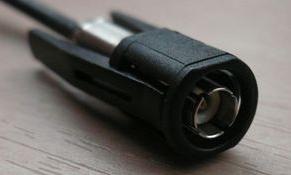  |
The Alpine antenna has a Hirose connector.I’ve found a few PDFs on this connector: –
|
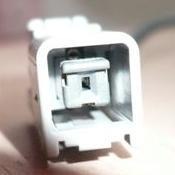
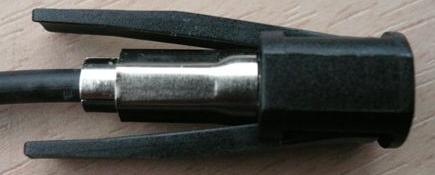
The Land Rover part normally plugs into a Becker navigation unit. No sure what type of connector this is! |
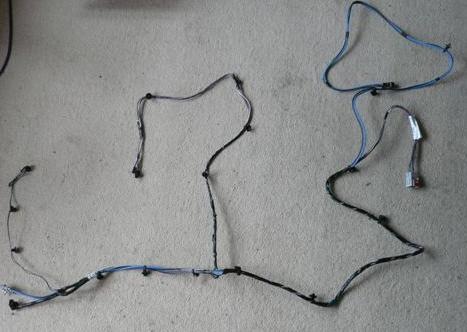 |
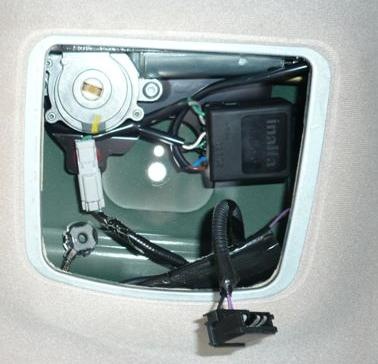
The Land Rover part is connected by a loom (YMK000670) which starts at the roof and goes down the right hand ‘A’ post.The connector for the combined FM/GPS antenna end is very specific so there’s no chance of escaping this expense |
 |
 |
The final problem (after fitting) the antenna is the possibility that the Land Rover antenna is active (i.e. amplified) and the Alpine one isn’t. This means that the Alpine nav unit does not supply power to the antenna like the Land Rover Becker unit does.
Below are a few photos from the installation of the antenna in the vehicle: –
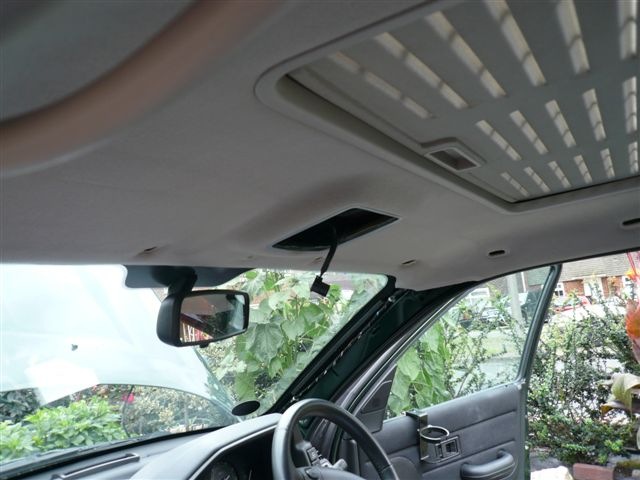
 |
After removing the existing normal antenna you can see daylight through the roof! |
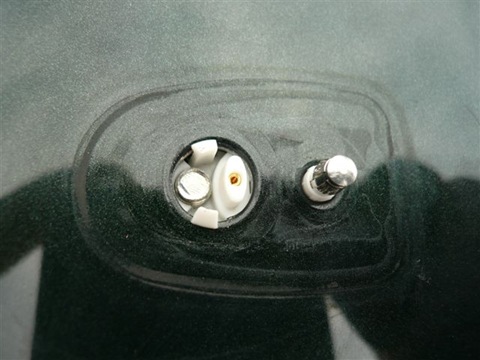 |
Here’s the view from the other side with the GPS antenna lower piece in place. (Unfortunately, I forgot to take a pic with the antenna in place. I’ll take one some time and post it up |
 |
Initially tried to run the antenna cables down the driver’s side ‘A’ post. Unfortunately, the connectors would fit through the gap between the dash and the ‘A’ post. |
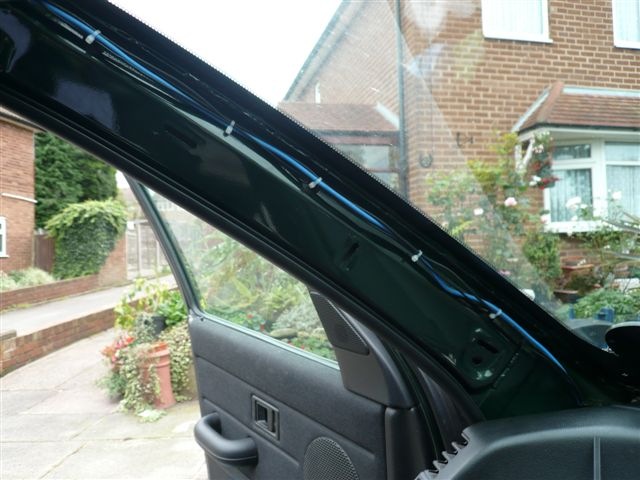 |
So ran the cables down the passenger side. The connectors passed through the gap quite easily here. |
I’ll post more info on this as and when I get around to it.
Here’s a PDF of the original Freelander Nav Install Instructions
Just an afternote. The GPS antenna connector on the Becker unit is known as a ‘WICLIC’.