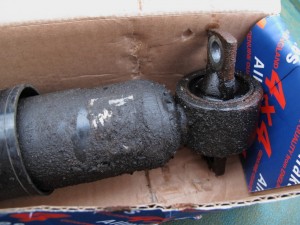
Front damper renewal
I finally got around to replacing the front dampers today, it all went well and was very straight forward.
Firstly you need to properly jack, support and chock the wheels to stop any unwanted movement, also make sure the front axle is supported as when you remove the dampers and turrets the front axle will drop if not properly supported causing damage to brake lines, etc.
Next thing you’ll need to do is unclip the coolant tank and move it slightly inboard to allow access to the damper top fixing, you don’t need to disconnect any of the coolant pipes just take care not to over stress any of the pipework.
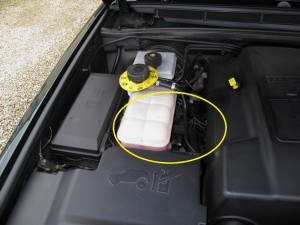
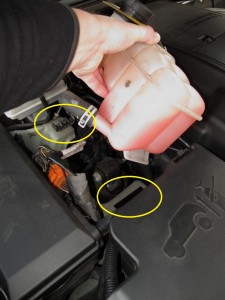
Next thing to do is slacken the top damper mounting bolt (18mm), take note of which way the bolt is facing. I then loosened off the four lower turret fixing nuts (13mm), then the two damper to axle bolts (13mm again) finally fully remove the four turret fixing nuts and withdraw the turret and damper assemby, this may take a bit of wriggling but it’s easily done.

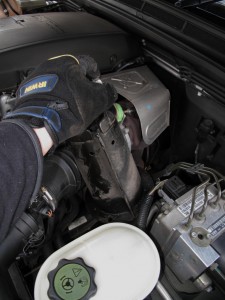
Once you’ve removed both sides you’ll need the completely remove the old dampers from the turrets and refix the new dampers with the top through bolt but don’t tighten it fully at this point. I also took the opportunity to waxoyl the inside of the turrets and have a general clean up while everything was apart and accessible.
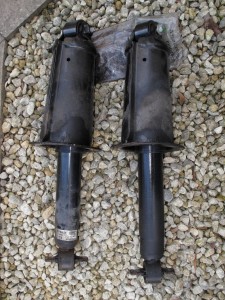

I ‘primed’ the new dampers first by extending and compressing them several times by hand and then stood them upright until they were ready to be fitted. Once I’d fitted the dampers into the turrets I manoeuvred them back into place carefully ready for refitting. I used copper grease on all the fixing to both help prevent corrosion and aid any future removal. First refit the two bolts that hold the bottom of the damper to the axle, followed next by the four nuts that secure the turret.
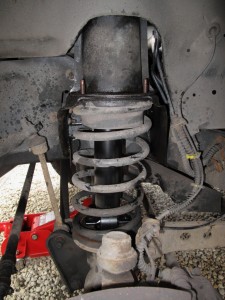
Once I was happy everything was in the right position I torqued up the damper to axle bolts to 45NM and the turret nuts to 23NM, access with a torque wrench is tight and awkward but do-able however the top damper to turret fixing I found impossible to get a torque wrench on to due to the limited access. The torque figure for the top through bolt fixing is 125NM.
After a final check to make sure all was well I refitted the road wheels and torqued the wheel nuts to 140NM (alloy wheels) and put the vehicle back on to the ground to bear it’s own weight. A test drive confirmed that the dampers had significantly improved the road manners and handling, gone was the ‘twitchy’ front end I’d almost become used to. You’ll see in the picture below how much oil had leaked from the defective damper coating it in a sticky, oily mess. It goes without saying that it’s always best to replace dampers in axle pairs, the part number of the dampers you’ll require will be dependent on the age and specification of your Discovery.
